

Losing photos can be a horrible experience, and no one would wish to find himself in such a state. We imagine someone spending a sleepless night for losing photos meant for an academic project. On the other hand, your camera can fall in the water, or your SD card becomes unreadable or corrupted. This doesn’t mean your photos you will never recover your photos. Fortunately, there is a way out of this cocoon. With the EaseUS Data Recovery Wizard, you can recover deleted photos with ease.
 With this data recovery software, you can recover not only photos but also other deleted files and other types of files.
Although cameras may develop technical issues, it’s rare. Also, memory cards will hardly develop problems except for some possible communication errors. If you receive such an error, the camera may request you to format the card. If you accidentally accept the request, you will need to recover the photos you lose.
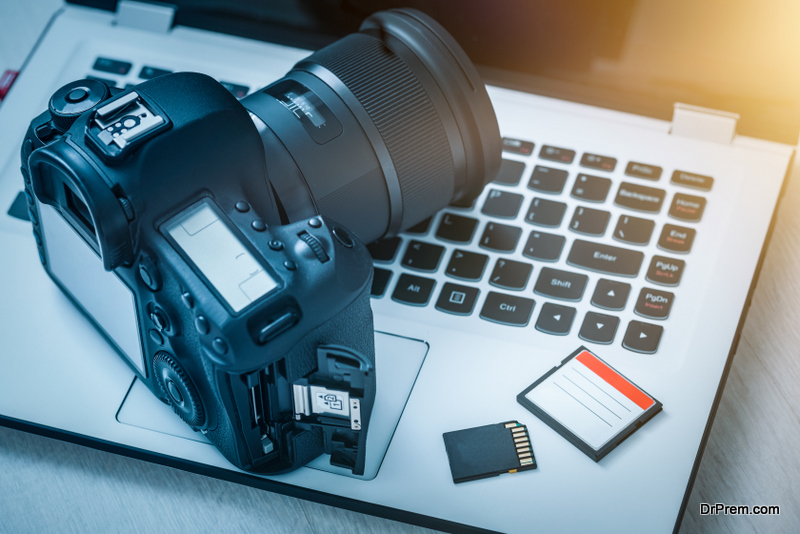
The good thing is that your images are likely to be on the memory card after deleting or formatting them. Only that you can’t see them, but the EaseUS data recovery software can prove the files’ availability. It’s meant to ensure that you don’t lose any important photos or any other files on an SD card. If you get a memory card error when using your camera, it’s advisable to stop using it to avoid putting the new photos at risk of getting corrupt or damaged. If that happens, it may be impossible to recover them using data recovery software.
How to Use the EaseUS Data Recovery Wizard
The EaseUS Data Recovery Wizard Free to download software is easy-to-use and useful for data recovery. It can help you recover data from a camera or drone memory card as well as from a computer hard drive. Below are the steps to follow when you want to recover your photos:
1. Connect Storage Device
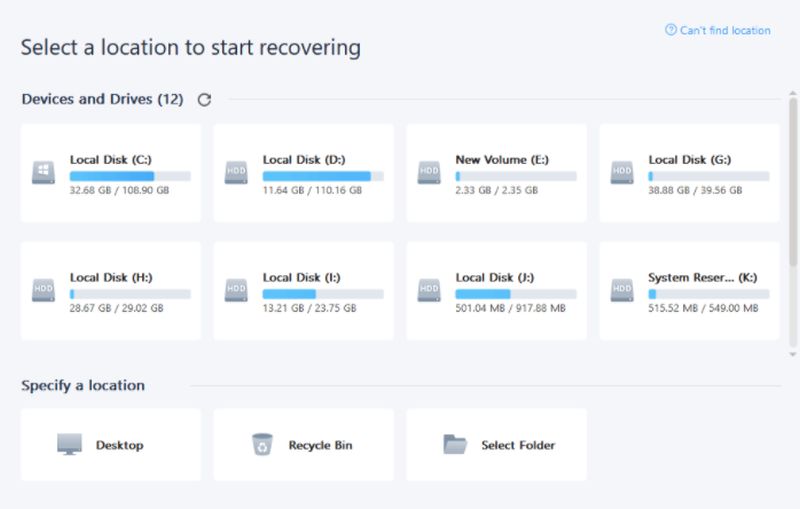 Start by connecting the storage device to your PC and launch EaseUS and then select the device (memory card) to be recovered.
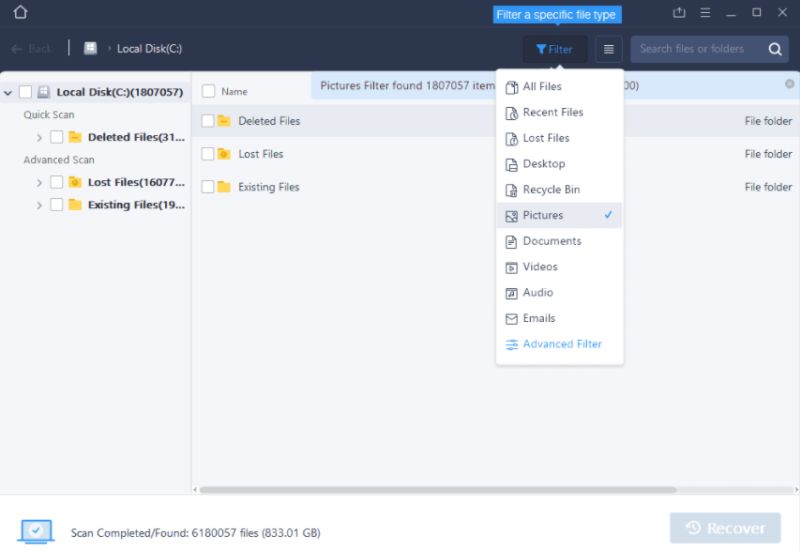
2. Scan the Device.
Click on “Scan.” This will prompt the EaseUS Data Recovery Wizard to automatically scan your “bad” memory card with both a basic and advanced recovery scan. Scanning usually takes less than ten minutes for a 64GB SD card.
After the scan, you will see various files and folders that you couldn’t access previously on your SD card. Although you can filter photos only, recovering all the files is ever safer.
3. Select the Files to Be Recovered.
 Once you get the files on the SD card, select the ones you want to be recovered. To be safe, recover all the images and sort them out later to remove duplicates. To recover deleted photos, select a destination folder on your computer’s hard drive, then click “Recover.” It’s in this step where new files are created from the previously erased or formatted ones.
4. Locating and Verifying Recovered Files.
At the end of the process, the EaseUS lets you know where the recovered files or images have been stored on your PC. You can use photography software such as Adobe Bridge or Adobe Lightroom to verify that the photos are correct and decent.
5. Back-Up Your Image Data!
 Saving the recovered images in two or three devices is safe for you. These devices should be stored in different locations. You can also back up this data on to the cloud for maximum safety.
Final thoughts
Having done this, you can choose to use a different memory card to avoid the same problem. You should also check the camera’s storage system to diagnose any possible issues. If your camera has no problems, you are assured that EaseUS solved all your image loss problems.
Article Submitted By Community Writer